AI Material Swap: Change Countertops, Cabinets & Floors (2026)
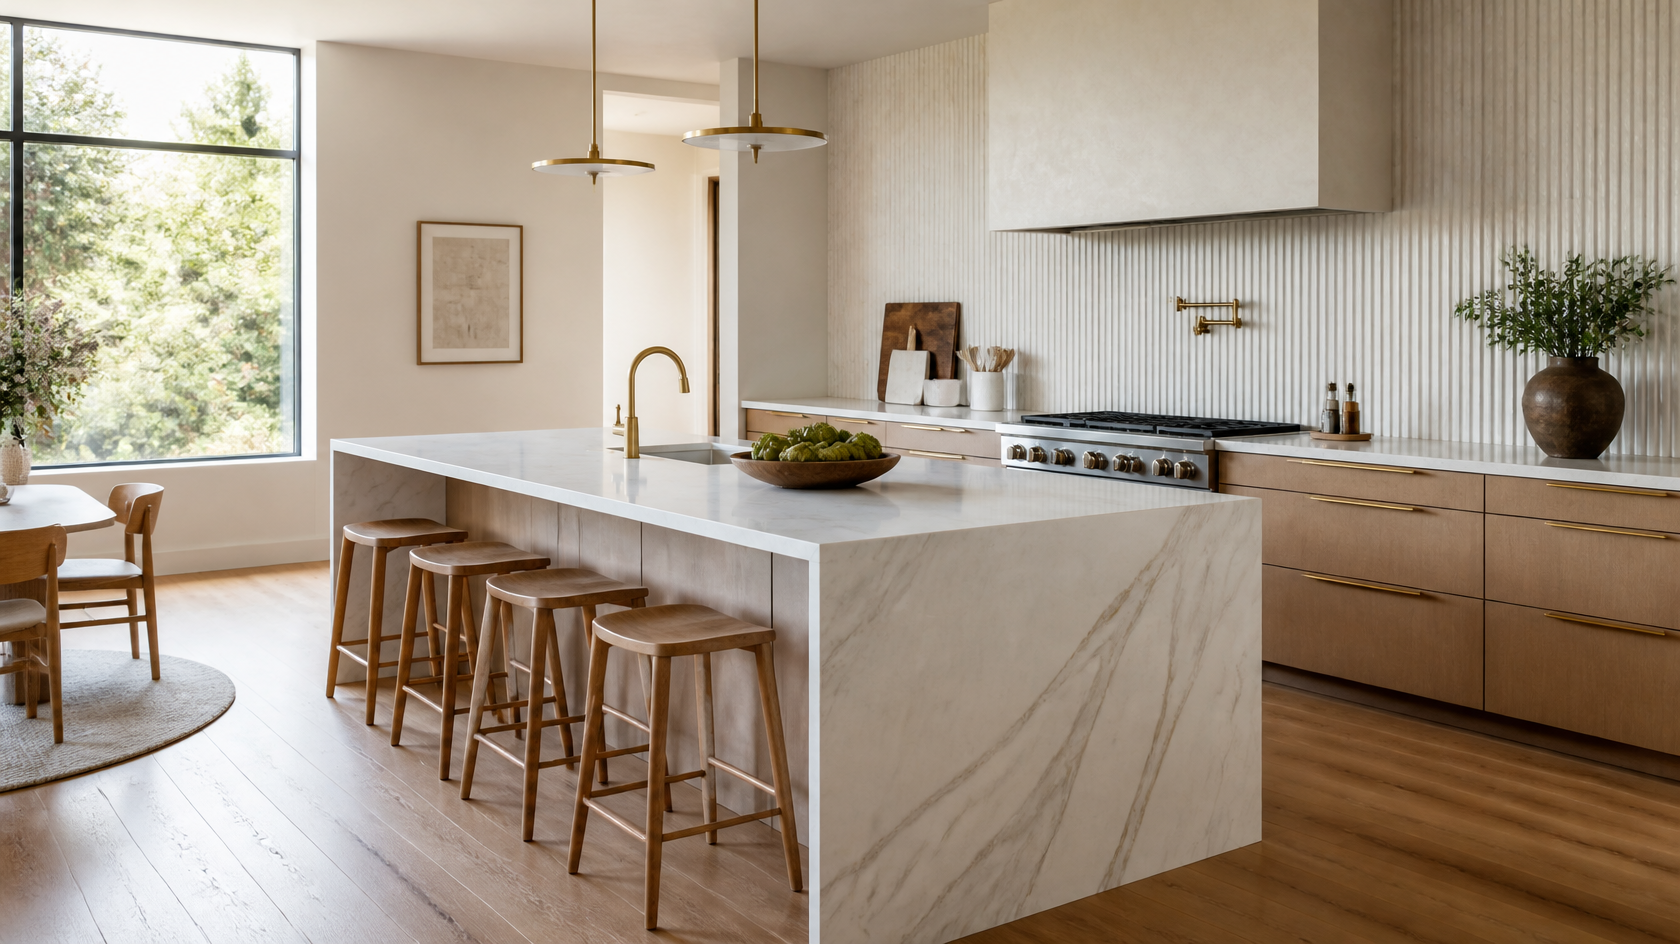
AI material swap lets you change a single surface in a room photo — the countertop, the cabinet fronts, the flooring, a wall finish, or the backsplash — while everything else stays exactly as it is. You upload one photo, tell the AI which surface to change and what to change it to, and get a photorealistic preview in about 30 seconds. It answers the one question every renovation stalls on: what will this actually look like in my room?
This is different from a full AI restyle, which reimagines the whole space at once. Material swap is surgical. It keeps your layout, your light, your furniture, and your sightlines, and edits only the material you point at. That precision is exactly what you want when the decision is "quartz or butcher block," not "Scandinavian or Japandi." Tools like GenRoom now do this on your actual photo, and this guide covers which materials swap cleanly, the before/after workflow that works, how material swap differs from a restyle, and the money it saves you before you sign a single contract.
What Is an AI Material Swap?
An AI material swap is a targeted photo edit that replaces the material or finish on one surface in your room while preserving the original geometry, lighting, shadows, and surrounding elements. Point at the countertop, ask for honed white marble, and the AI re-renders only that slab — correct perspective, correct reflections, correct shadow under the upper cabinets — and leaves the cabinets, sink, and window untouched.
Older "visualizer" tools from the 2015 era pasted a flat texture swatch onto a stock template. Modern AI works on your real photograph and understands the scene in three ways:
- Surface detection. The AI identifies where the countertop ends and the backsplash begins, so paint doesn't bleed onto the wall and stone doesn't creep up the cabinet.
- Lighting transfer. A new material inherits your room's real light — the warm glow from a west window, the cool wash of under-cabinet LEDs — so the swap reads as a photo, not a decal.
- Detail preservation. Faucets stay in place, veining follows the slab's real angle, grout lines respect perspective. You are previewing a renovation, not generating a different kitchen.
The payoff: you reject a bad idea in 30 seconds instead of ordering a $60 sample slab, living with it on the counter for a week, and still not being sure.
Which Materials Swap Well (and Which Don't)
The cleanest swaps are large, continuous, planar surfaces with clear edges — which happens to describe every high-cost material decision in a renovation. Here's how the main categories perform.

Countertops
Countertops are the single best material to swap. They are a large, flat, well-lit plane the AI reads easily, and the choices carry huge cost swings. You can test quartz, granite, marble, quartzite, butcher block, soapstone, laminate, and concrete on the same cabinets and instantly see which one your kitchen wants.
This matters because the price gap is enormous. Laminate runs about $25–$50 per square foot installed, quartz averages $75–$95, and granite or premium quartzite can reach $150–$200+, according to 2026 countertop pricing guides. On a typical 40-square-foot kitchen that's a swing from roughly $1,500 to over $6,000. Seeing a $2,500 quartz read almost identically to a $6,000 marble in your light is the kind of insight that pays for the whole exercise.
Cabinet Fronts

Cabinet color and finish swap beautifully because doors are large, repeated, and evenly lit. Test a painted color (sage, navy, off-white, charcoal), a wood species (rift white oak, walnut), or a finish change (matte to satin) without touching the layout. Since a professional cabinet repaint runs $1,200–$7,000 and refacing averages around $7,000–$9,500 — roughly 60–78% less than full replacement — getting the color right before you commit is worth real money. For the full color playbook, see our AI cabinet color visualizer guide.
Flooring
Flooring swaps read well when the floor is visible and not fully buried under rugs and furniture. Compare hardwood species, engineered oak, luxury vinyl plank (LVP), porcelain tile, and polished concrete — and test plank direction and tone (warm honey vs. cool grey-wash) on the same room. Because flooring covers the largest square footage in most homes, small per-foot price differences scale fast. Our dedicated AI flooring visualizer guide goes deeper on hardwood vs. tile vs. LVP.
Wall Finishes

Walls swap cleanly for paint color, limewash, micro-cement plaster, wood paneling, and wallpaper. Flat painted walls are the easiest surface of all; textured finishes like Venetian plaster or board-and-batten are slightly harder but still reliable. This is where a swap shifts a room's entire mood for the lowest actual cost.
Backsplash
Backsplash is a smaller, busier zone (outlets, edges, the counter-to-cabinet gap), so it's marginally trickier than a countertop — but still a strong swap. Test subway tile, zellige, slab-stone, herringbone, and full-height quartz to see how a backsplash reads against your specific counter and cabinet combo. Our kitchen backsplash tile visualizer guide covers tile-by-tile detail.
What Swaps Poorly
Be realistic about the hard cases. Highly reflective surfaces (large mirrors, high-gloss lacquer) can confuse lighting. Tiny, fragmented areas half-hidden behind clutter give the AI too little to work with. And anything requiring a structural change — moving a wall, adding a window, changing cabinet layout — isn't a material swap at all; that's a full redesign. Clear the counter, shoot in daylight, and keep the target surface unobstructed for the best result.
| Surface | Swap quality | Best photo tip |
|---|---|---|
| Countertops | Excellent | Clear everything off; shoot straight-on |
| Cabinet fronts | Excellent | Even, front-facing light; doors closed |
| Flooring | Very good | Pull back rugs; capture depth |
| Wall finishes | Excellent (flat) / Good (textured) | Avoid harsh glare |
| Backsplash | Good | Keep outlets and edges visible |
| Mirrors / high-gloss | Poor | Not recommended |
The Before/After Material Swap Workflow
The workflow that consistently produces usable results takes about ten minutes and follows five steps. You can run it on GenRoom's material swap tool or any comparable AI editor.
Step 1 — Shoot One Good Photo
Use a single, well-lit, straight-on photo in daylight. Clear clutter off the target surface, open the blinds, and avoid heavy shadow or glare. One clean photo beats five messy angles — the AI only needs to see the surface clearly.
Step 2 — Isolate One Surface at a Time
Swap one material per generation. Do the countertop first, lock in the winner, then swap the backsplash against that new counter, then the flooring. Changing three things at once makes it impossible to tell which change you actually liked.
Step 3 — Test the Extremes First
Start with your boldest and safest options, not the middle. Test the dark dramatic quartz and the pale minimal marble in the same session. The extremes tell you fast which direction your room wants, and you narrow toward the middle from there.
Step 4 — Compare Side by Side
Line up the before photo next to two or three finalists. Materials that looked great in isolation often lose against your fixed elements — a cool grey floor can fight warm brass fixtures the moment you see them together. Side-by-side comparison is where losers get eliminated.
Step 5 — Confirm With One Physical Sample
AI swaps are roughly 85–95% accurate on color and material read — accurate enough to eliminate clear losers and build a shortlist, but not a substitute for touching the real thing. Order a single sample of your finalist (a quartz chip, a flooring plank, a $5 peel-and-stick paint swatch) and confirm in your own light before you buy. The AI gets you from twenty options to two; the physical sample confirms the one.

Material Swap vs. Full AI Restyle: What's the Difference?
The core difference: a material swap changes one surface and keeps everything else; a full restyle reimagines the entire room's style, furniture, and mood at once. Use a swap when you know your layout and are choosing between materials. Use a restyle when you want inspiration and are open to rethinking the whole space.
| Material Swap | Full AI Restyle | |
|---|---|---|
| What changes | One surface (counter, floor, wall…) | Everything — style, furniture, mood |
| What stays | Layout, furniture, light, sightlines | Only the room's basic dimensions |
| Best for | Deciding between real materials | Finding a direction / inspiration |
| Decision type | "Quartz or butcher block?" | "Modern or Japandi?" |
| Renovation stage | Late — you're specifying | Early — you're exploring |
| Realism vs. your plan | High — reflects your actual project | Aspirational — a mood, not a spec |
In practice, homeowners use both in sequence. Early on, a full room restyle helps you land on a direction. Later, material swap does the precise, budget-driven work of choosing the exact counter, floor, and cabinet color that brings that direction in on budget. The restyle sets the vision; the swap makes it buildable.
Create interior design with AI
Upload a photo of your room and get a professional design in 30 seconds. First generation is free.
When a Material Swap Saves You Real Money
The financial case for material swapping comes down to avoiding expensive, irreversible mistakes on the surfaces that cost the most. Here are the decision points where it earns its keep.
Deciding Between Price Tiers
The most valuable use: seeing whether a cheaper material reads "close enough" to a premium one in your room. If a $2,800 quartz looks 95% as good as a $6,000 marble under your lighting, the swap just saved you $3,200 — and you saw it before the fabricator quoted the job. This is the single highest-ROI use of the tool.
Avoiding the Clash You Can't Un-See
Fixed elements you're not changing — the brass faucet, the existing floor, the window trim — routinely fight a new material in ways a showroom sample never reveals. A swap on your real photo surfaces the clash for free, instead of after the slab is templated and cut.
Contractor and Fabricator Conversations
Walking into a quote with a photorealistic target image removes ambiguity. "Match this" is far cheaper than three rounds of miscommunication, a wrong order, and a restocking fee. For real estate and staging use, a fast swap also shows buyers a dated kitchen's potential without a dollar of actual work — see our virtual staging workflow for kitchens.
Renter and "Reversible Reno" Planning
Renters and cautious owners can test paint, peel-and-stick backsplash, or a floor overlay before spending on materials they may have to remove. Knowing a change works before buying it prevents the classic "bought it, hated it, returned nothing" cycle.
How to Do a Material Swap in GenRoom
Getting a first swap done takes under a minute:
- Go to GenRoom's material swap tool and upload one clear, daylit photo of your room.
- Name the surface you want to change (or select it with a brush) and describe the new material in plain text — for example, "honed white marble countertop" or "wide-plank light oak flooring."
- Apply the change. You'll get a photorealistic preview in about 30 seconds.
- Iterate — try the next material, then compare your finalists side by side.
- Refine with words or a brush in the built-in AI Editor if you want to nudge tone, veining, or plank direction.
GenRoom's free account includes 6 credits (≈3 designs or edits) with no credit card, which is enough to test several materials on one room before deciding whether to go further. Paid packs start at $9.99 for 36 credits, and the AI Editor (words or a brush) is included in every plan, even Free — useful when you want to fine-tune a swap ("warmer oak," "less veining") without starting over. Full details are on the pricing page.
Frequently Asked Questions
Can AI change only the countertop and leave the rest of my kitchen the same?
Yes — that's exactly what a material swap does. You point at the countertop, describe the new material, and the AI re-renders only that surface while keeping your cabinets, backsplash, sink, and lighting identical. This is what separates a swap from a full restyle, which changes everything at once. Countertops are the cleanest surface to swap because they're large, flat, and well-lit.
How accurate is an AI material swap compared to the real thing?
For color, material read, and overall proportion, AI swaps are roughly 85–95% accurate — accurate enough to eliminate clear losers and build a confident shortlist. They're less precise on micro-details like exact veining pattern, sheen under unusual light, and tactile texture. Always confirm your final choice with one physical sample in your own lighting before purchasing.
Which materials can I swap in a photo?
Countertops (quartz, granite, marble, butcher block, laminate, concrete), cabinet fronts (paint colors and wood species), flooring (hardwood, engineered oak, LVP, tile, concrete), wall finishes (paint, limewash, plaster, paneling, wallpaper), and backsplash (subway, zellige, slab, herringbone). Large, flat, unobstructed surfaces swap best; tiny cluttered areas and high-gloss mirrors swap poorly.
Is a material swap the same as an AI room redesign?
No. A material swap changes one surface and preserves everything else — your layout, furniture, and light. A full redesign reimagines the entire room's style and furnishings. Use a swap when you're choosing between real materials for a project you've already planned; use a redesign when you're still exploring a direction or looking for inspiration.
Can I use a material swap for kitchen cabinet color changes?
Yes. Cabinet fronts are one of the strongest surfaces to swap because doors are large, repeated, and evenly lit. You can test painted colors, wood species, and finish changes on your real kitchen without touching the layout. For a deep dive into 2026 cabinet colors and paint codes, see our AI cabinet color visualizer guide.
Is there a free way to try AI material swapping?
Yes. GenRoom gives you 6 credits (≈3 designs or edits) on a free account, no credit card required — enough to test several materials on one room. Paid packs start at $9.99 for 36 credits, and the AI Editor for fine-tuning your swaps with words or a brush is included in every plan, even Free.
How many materials should I test before deciding?
Test the extremes first — your boldest and safest options — to find the direction your room wants, then narrow to two or three finalists and compare them side by side against your fixed elements. Most people land on a confident choice after six to eight generations, then confirm the winner with a single physical sample.
The Bottom Line
Material swap is the precision tool of AI home design. Where a full restyle answers "what style?", a swap answers the harder, more expensive question: "which exact material, and will it work in my room?" It keeps everything you've already decided and edits only the surface in question — countertop, cabinet, floor, wall, or backsplash — so the preview reflects your real project, not a generic mood board.
The workflow is simple: one good photo, one surface at a time, test the extremes, compare side by side, confirm with a physical sample. Done right, it compresses weeks of showroom trips and sample-staring into ten minutes of iteration, and it routinely saves thousands by proving whether a cheaper material reads "close enough" before you ever get a quote.
Start with the surface that's costing you the most sleep — usually the countertop — and see it three ways in the next five minutes.